While working with Sitecore, I am sure you must have found WFFM (Web Forms For Marketers) been very useful be it a developer/marketer. However, there had been one thing that i always missed in the form – a Wizard interface especially when it comes to lengthy forms.
Before i jump into the solution, here are few other options that you may want to try out:
For Sitecore 8.2 and below:
you could build a custom WFFM Form template extending the OOTB WFFM Form to perform a wizard-based functionalities, based on the solution mentioned here: http://kirkegaard-at.blogspot.dk/2017/02/sitecore-enhancing-web-forms-for.html.
For Sitecore 9 and above:
you could create a Wizard interface Form, using the all NEW Sitecore Forms OOTB.
Js based Approach
If none of the above options seems to working out for you, here is the javascript based approach that you could try.
Background: This approach takes advantage of the “Sections” that you can build in WFFM forms. While building out the form, you can define the Wizard pages as independent sections. The WFFM “Sections” translates to HTML <fieldset> tags on the page when rendered on the page. The javascript will take care of injecting a “Previous” and “Next” button to scroll through the <fieldset> tags or section whereby giving you a Wizard interface.

Approach: All you need is a WFFM form with “Sections” defined and a javascript injected on the page. You could inject the javascript through various ways:
- Javascript file/snippet injected as a part of the WFFM hosting page
- Javascript file/snippet injected as a part of the WFFM Form template by extending the OOTB WFFM Form template by following the approach mentioned here and calling it “WFFM Wizard Form“. The extended Form Template will take care of inserting a custom javascript that converts the WFFM Form to a wizard
The custom javascript performs the following actions:
1. Hide all the <fieldset> tags on the page except for the first tag.
2. Hide the “Submit” button and Insert 2 button that performs “Previous” and “Next” operations
3. Define js click events for “.next” and “.prev” button, to show and hide corresponding <fieldset> tags to browse through the wizard forms
4. On the final wizard form visible, ensure that the “Submit” button is made visible.
Here is the complete js code snippet for your reference:
This file contains hidden or bidirectional Unicode text that may be interpreted or compiled differently than what appears below. To review, open the file in an editor that reveals hidden Unicode characters.
Learn more about bidirectional Unicode characters
| // Insert an HTML based "Previous" and "Next" button right next to the "Submit" button | |
| // Hide the "Previous" button on the initial load | |
| // Add "submit" class to the existing "Submit" button for ease of targeting | |
| $("<input type='submit' value='Previous' class='prev' onclick='return false;' style='display:none'/><input type='submit' value='Next' class='next' onclick='return false;'/>").insertBefore($(".scfForm input[type='submit']").addClass('submit').hide()); | |
| // Capture all the <fieldsets> a.k.a Sections in the WFFM Form | |
| // Note that the Form has a class "scfForm", which is the OOTB class name | |
| // If you have multiple WFFM Forms on the page, you will have to scope this to the current Form | |
| var fieldSets = $(".scfForm fieldset"); | |
| var current = 0; | |
| // Hide all the WFFM sections except the first one | |
| fieldSets.hide().first().show(); | |
| // On click on Next button: | |
| // – Hide the current section and show the next section | |
| // – Show/Hide the Previous, Next and Submit buttons accordingly | |
| $(".scfForm .next").click(function() { | |
| fieldSets.eq(current).hide(); | |
| current = (current + 1 < fieldSets.length) ? current + 1 : 0; | |
| fieldSets.eq(current).show(); | |
| evalActions(current,fieldSets.length-1); | |
| }); | |
| // On click on Previous button: | |
| // – Hide the current section and show the previous section | |
| // – Show/Hide the Previous, Next and Submit buttons accordingly | |
| $(".scfForm .prev").click(function() { | |
| fieldSets.eq(current).hide(); | |
| current = (current > 0) ? current – 1 :fieldSets.length – 1; | |
| fieldSets.eq(current).show(); | |
| evalActions(current,fieldSets.length-1); | |
| }); | |
| // Generic method to evaluate Previous/Next/Submit button visibility based on the section of the form | |
| function evalActions(i,l) { | |
| // In the initial section, show "Next" button while hide "Previous" and "Submit" button | |
| i == 0 && $(".scfForm .next").show() && $(".scfForm .prev,.scfForm .submit").hide(); | |
| // In the final section, show "Submit" and "Previous" buttons while hide "Next" button | |
| i == l && $(".scfForm .prev,.scfForm .submit").show() && $(".scfForm .next").hide(); | |
| // In the intermediate sections, show "Previous" and "Next" buttons while hide "Submit" button | |
| (i > 0 && i < l) && $(".scfForm .prev,.scfForm .next").show() && $(".scfForm .submit").hide(); | |
| } |
Testing the Script
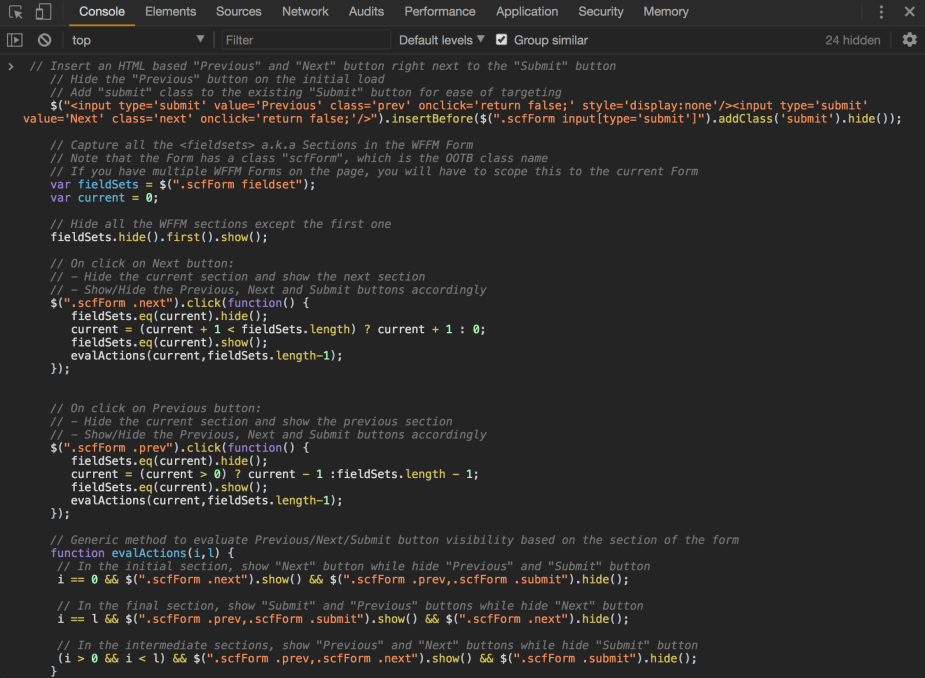
You can test the above script in your existing WFFM Form Page, using Chrome “Console” window as shown below:
Before you run the script, you need to take care of the following:
- Ensure that the WFFM Form has “Sections”
- If you have multiple WFFM Forms on the same page, you may want to define separate CSS class to target the form and update the script to target the appropriate form.


I hope this helps you convert/build a wizard form interface using a Sitecore’s OOTB WFFM.
